
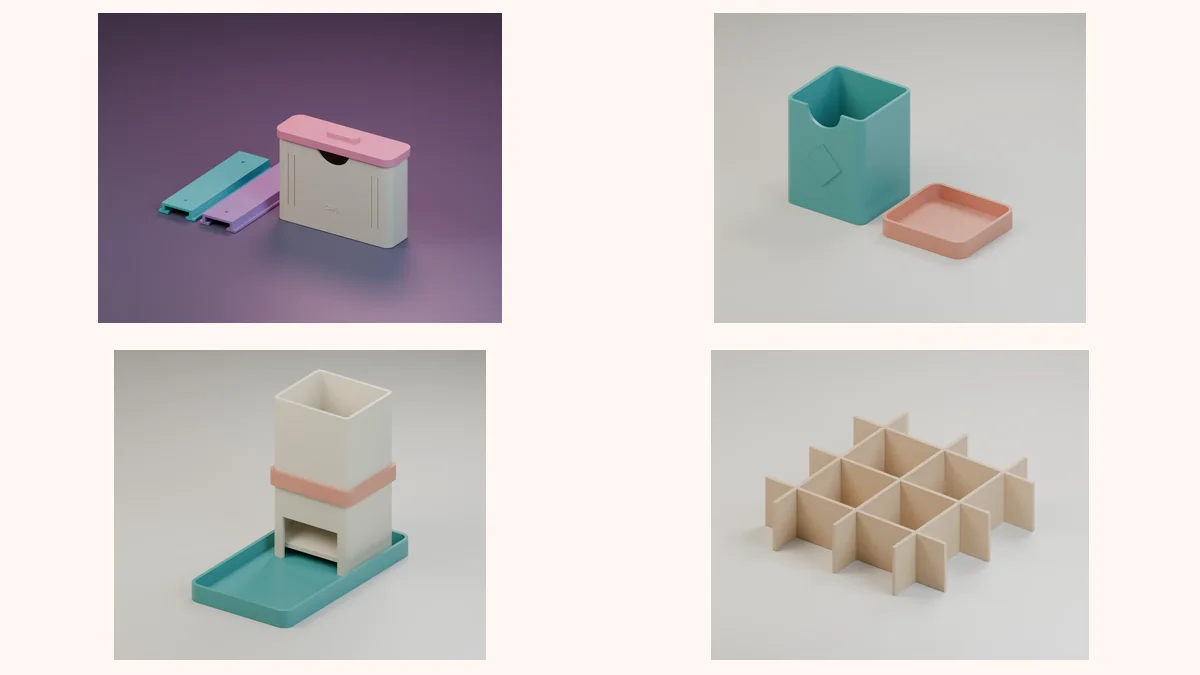
The $0 studio (or close to it)
A good photo of a printed part depends more on light and background than on the camera, and neither costs much. Gather:
- A table pushed up against a window that doesn't get direct sun at the time of day you shoot.
- A sheet of poster board or a large sheet of paper, white or light gray, for the background.
- A reflector: styrofoam, cardboard covered in white paper, or crumpled aluminum foil. It bounces light back onto the dark side of the part.
- A phone stand: a tabletop tripod, a stack of books, a glass. What matters is that the photo doesn't shake and the position can be repeated.
- Masking tape to hold the background in place and to mark on the table where the part goes and where the phone goes.
That last one looks like a detail and it isn't. If you sell many parts, you want every photo in your shop to have the same light and the same framing. Mark it on the table and you can repeat it exactly tomorrow.
Light: window from the side, never direct sun
Window light is the best light you'll get for free. Place the part so that the light comes from the side, not from behind the phone: side light shapes the volume and brings out the texture; front light flattens everything.
- No direct sun. It casts hard shadows and blows out the whites. If the sun comes in, cover the window with a thin curtain, tracing paper or a white bedsheet — it becomes a diffuser.
- Turn off the ceiling light. Warm bulb light mixed with daylight gives the part shadows in two colors, and the filament color comes out wrong.
- Reflector on the side opposite the window, close to the part, until the shadow is soft.
- Always shoot at the same time of day. Light at 10 a.m. and light at 5 p.m. have different colors.
No good window? Two lamps with white light (the same color temperature in both), one on each side, with tracing paper in front, do the same job. Be careful with the heat of a bulb close to a PLA part.
Background: light, plain and curved
Tape the poster board to the wall (or to a book standing up) and let it curve down onto the table, with no fold. That's the "infinity background" or sweep: the horizon line disappears and the part seems to float on a clean background. It also makes it easier to cut out the photo later, if you need to.
A white or light gray background works for almost everything and matches the marketplace standard. Avoid tablecloths, wood with a strong grain, the floor and anything else that competes with the part for attention — save those for the in-use photo.
Phone settings
- Clean the lens. On your shirt, even. A lens with fingerprint grease puts a milky haze over everything.
- Use the main lens, at 1x or 2x, and step back. The wide-angle lens up close distorts: the part of the object nearest to you looks bigger than the rest. Stepping back and zooming in with optical zoom keeps the proportions.
- Tap the part to focus and, if the white background is blown out, slide the exposure control down a little.
- Flash off. Always.
- Portrait mode with care. The artificial blur tends to eat the edges of openwork parts, snap-fit parts and miniatures. For product photos, the regular photo mode is more honest.
- Use the 3-second timer if the phone is on a stand. Tapping the shutter button shakes the photo.
The eight-shot sequence
Always shoot the same sequence, in the same order. That way no buyer question goes without a photo:
| Shot | What it's for |
|---|---|
| 1. Main, three-quarter view | Slightly from above and to the side: shows front, side and volume at once. It's the cover of the listing. |
| 2. Front | The part straight on, no perspective. |
| 3. Side | Depth and thickness. |
| 4. Top | Dividers, compartments, what fits inside. |
| 5. Detail | Texture up close, with the layer lines showing. Honesty prevents returns. |
| 6. Scale | In the hand, next to a ruler or an object everyone knows. |
| 7. In use | In the place where it will live, with what it will hold. |
| 8. What's in the package | All the parts, screws, magnets, how many come in the kit. |
The scale photo
This is the one that prevents the most complaints. "I thought it was bigger" is a classic complaint from people who buy from photos. Hand, coin, pen, phone or ruler: pick one reference and always use the same one. And write the dimensions in the description, on top of the photo.
The in-use photo
The organizer full of coffee capsules, the deck box with the cards sticking out, the stand holding the controller. This is the photo that sells, because it shows the problem solved. Set up the scene with everyday objects and make sure no brand logo or third-party character shows up — a listing with someone else's brand can be reported.
Colors and variations
If you sell in several colors, photograph each color with the same light and the same framing, and use the color name from the photo in the variation. A mock-up with the color swapped in an editor misleads the buyer, and the real filament almost never comes out the way the editor paints it.
White, black, glossy or translucent parts
- White part: on a white background it disappears. Use a light gray or soft-colored background, and let the side light define the edges.
- Black or dark part: it needs more light and a reflector up close; otherwise it turns into a blob with no detail. A light background helps separate the outline.
- Glossy part (PETG, silk PLA): it reflects the window and the phone itself. A diffuser on the window and the phone slightly off to the side fix most reflections.
- Translucent part: put the light behind it or to the side so it "lights up". Printed lamps and lampshades also deserve a photo switched on, in a darker room.
If you're unsure about the part's material, the guide PLA, PETG or ABS for selling helps you decide — and the material also changes how much shine shows up in the photo.
Editing: what's fine and what isn't
The editor that comes with your phone is enough. Fine: straightening, cropping, adjusting brightness and contrast, brightening the background, removing the background when the marketplace asks for a white one. Not fine: changing the color of the part, erasing defects, hiding layer lines or pasting the part into a setting it has never been in.
Export the main photo as a square — that's what most marketplaces show in search — and check each one's minimum size and maximum number of photos, which change from time to time. Let the part fill a good portion of the frame, with some breathing room around it.
And use a photo of your print, not the image of the 3D model. The buyer receives the part that came off your machine, in your filament. If the file came from STL Prime, you can sell the printed part on any plan — the details are in the file license.
Checklist before you publish
- Clean lens, flash off, ceiling light off.
- Side light, no direct sun, reflector on the other side.
- Plain, curved background, with no folds or dirt.
- Clean part: no support bits, no stringing, no dust.
- All eight shots, in the usual order.
- One scale photo and one in-use photo, with no third-party brands in the scene.
- Each color actually photographed.
- Dimensions and material written in the description.
Photograph the first part of every batch, right after it comes off the printer and goes through finishing. That way the photo matches the product you're really selling — and if you change filament or color, shoot it again.
Frequently asked questions
Do I need a professional camera?
No. A phone with a clean lens, window light and a light background will do. Light and background matter more than the camera.
What's the best light?
A window to the side, no direct sun, with the ceiling light off. If the sun comes in, put tracing paper or a thin curtain in front.
How many photos should I post?
Six to eight cover the buyer's questions. Check each marketplace's limit.
Can I use the image of the 3D model?
Use a photo of the part you printed. The buyer receives your print, not the render.
The photo is the part in the hand of someone who hasn't bought it yet.